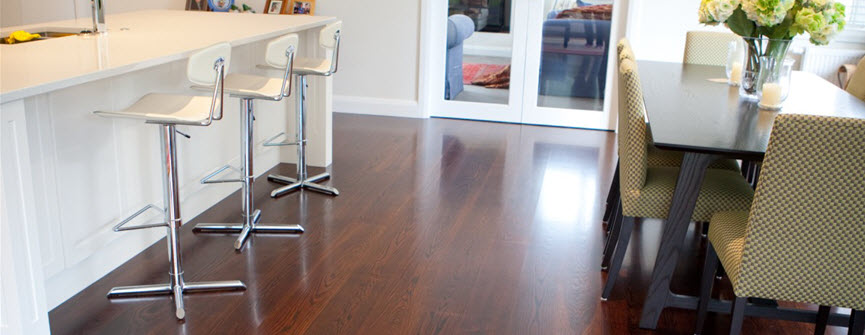
Hardwood T&G Flooring requires careful attention in installation. We recommend using a professional floor layer. The ATFA offers a great resource of trade information and help. We belong as an associate member www.attfa.com.au
Timber is a natual material which will move in response to changes in the relative humidity of the air. Installing timber T&G flooring following these guidelines will minimise the risk of a disappointment in the floor due to excessive movement. Where timber is subjected to extreme conditions, the effect of the movement may become obvious.

Design
- Do not specify pre-laying of timber strip floor
- Do not exceed the maximum joist spacing for the timber flooring thickness (refer NZS 3604)
- Do not expose timber to excessive levels of UV Light. Timber requires protectino from UV light (i.e. draw curtains, use tinted glass or use UV filters on glass window to protect from sunlight.)
- Check the intended moisture content is applicable for the situation (i.e. underfoot heating requires 7-8% M.C.)
Ordering
- Do order the timber to be delivered at a moisture content as close as possible to the expected in-use moisture content - typical installation moisture contents for residential buildings is 10 to 14% intermittently heated buildings and 8-10% in air conditioned buildings but room orientation, insulation or heating provided and window size will influence the in-service moisture content. Achieving a moisture content below 10-12% is difficult with current kiln drying and further conditioning (drying) under the expected environmental conditions may be required. Most US sourced hardwood has a 7-9% moisture content - so very dry.
- Do programme deliveries to have a timber delivered just before it is required (reminder to allow for conditional time).
Delivery and Storage
- Do check moisture content on delivery
- Do condition timber by strip stacking in a space which has the correct in-use moisture conditions (for timber way outside expected moisture air drying may not be sufficient).
- Do stack timber clear of the floor on a level surface within a dry weatherproof space.
- Do not stack the timber over a concrete slab which has a moisture content of more than 70
General Installation
- Do not pre-lay timber strip flooring.
- Do have the building completely closed in before laying flooring.
- Do check the moisture content of the sub-structure and the flooring before laying.
- Do handle boards carefully
- Do leave a 10mm gap around the perimeter of the timber floor to accommodate movement.
- Do cramp the boards
- Do protect the edge of the timber when cramping
- Do undercut end joints when butt jointing
- Do make end joints over support unless boards have a T&G end jointing/end matching system.
- Do seal all edges, ends and faces of the timber flooring boards before installation.
Adhering Directly Over Concrete
- Do level the floor by grinding/filling if the concrete floor does not meet the 3mm in 3m levelness criteria
- Do not lay the flooring if the concrete floor moisture reading using a hydrometer exceeds 70%
- Do follow the recommendations for adhesive fixing that follow
Installation Over Joists or Battens Over Concrete or Over First Floor Joists
- Do level the framing before laying
- Do securely fix the battens/joists to the concrete
- Do not install flooring if the timber joists have a moisture content outside the range of 10-14% in intermittently heated buildings or 8-12% for air-conditioned buildings - ideally use kiln dried timber
Adhesive Fixing
- Do use an adhesive specially designed for fixing timber to concrete or timber to timber. We favour a rigid set glue.
- Do press the timber firmly into the adhesive
- Do weight the floor until the adhesive is fully cured
- Do use nails in conjunction with adhesive when fixing to timber
- Do not use water-based adhesives
Nail Fixing
- Do face nails using annularly grooved nails with a length of 2.5 times the finished board thickness.
- Do use double nailing on boards wider than 75mm
- Do not fix boards immediately adjacent to the cramps
- Do nail away from the cramps (from the board once removed from the cramp to the last board fixed)
- Do keep the floor weighted when nailing to allow boards to be fitted to the joists
- Do punch nail below the surface
- Do not secret nail timber profiles wider that 85mm, wide profiles must be top nailed.
Finishing
- The use of acrylic urethane is not recommended, especially on dark coloured woods (eg. Kwila & Jarrah).
- Do not sand the floor until all work over the floor has been completed. Do fill all nail holes after first sealer coat has been applied.
We would recommend that Merchants and/or Builders seek the latest advise from BRANZ on 0800 80 80 85 or via their website at www.branz.co.nz for correct installation information

(CertFloor Manuals)